How to Pipe Weld 101: Tips & Tricks for the Perfect Weld
Last Updated on
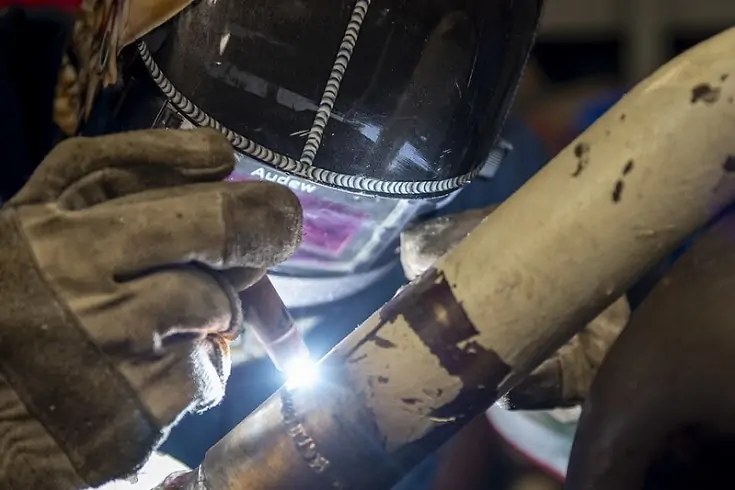
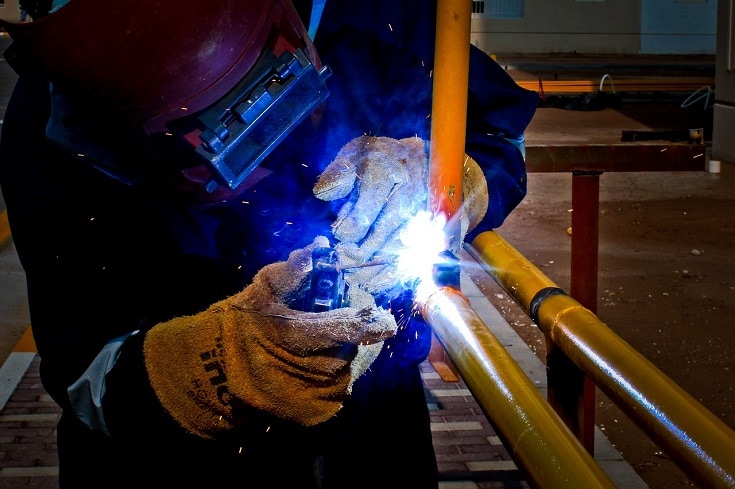
When welding two pipes, pipe welding is the most appropriate technique. In this case, welders can use several processes such as TIG, arc welding, and MIG welding to get the desired weld. While all these methods are applicable in pipe welding, TIG welding is the most common process. When undertaking projects such as fusing cylindrical metal tubes and curved metals, pipe welding is a great option.
The Basics of Pipe Welding
- Ensure you establish the ideal technique to use in advance.
- Have sufficient knowledge of the safety of the technique.
- Ensure you put on the proper welding attire to protect yourself from accidents.
- Prepare all your welding materials in advance and sanitize them.
- Grind all materials that require grinding and bevel the thicker edges.
Passes Used in Pipe Welding
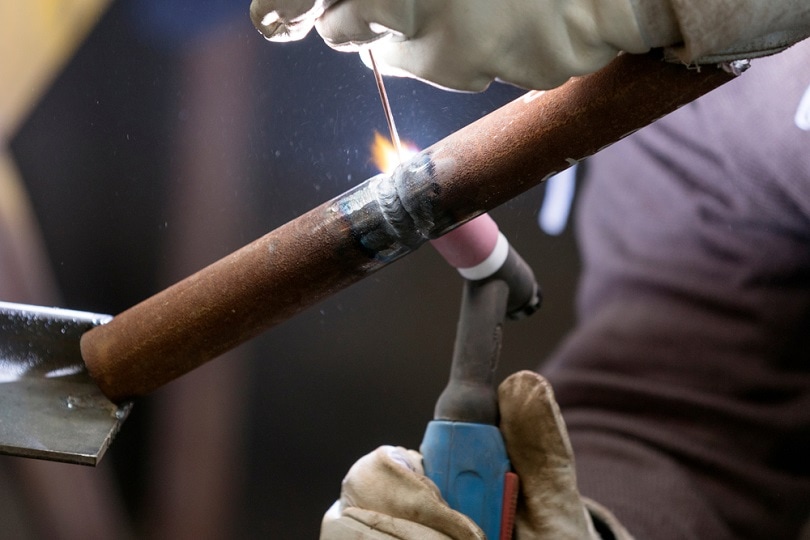
1. Root Passes
These are the first passes and are often used when welders fill gaps between piping sections. Manual passes are also a perfect alternative to root passes as they have continuity throughout the tack welds. Gas metallic arc welding is another alternative to root passes. The only difference is that it is an open root weld without any backing rings.
2. Hot Passes
Hot passes are single welds used to join the root weld through groove faces. When using the 2G welding position, welders can split the hot passes to achieve the desired weld. In the event of an abnormally large root opening, welders may break the hot passes.
3. Fill Passes
Fill passes are a great way to fill up grooves during welding. In some instances, welds develop cavities that alter the overall quality of the welds. To mitigate these cavities, welders are frequently required to perform a beading sequence to achieve a strong joint. A fill pass is the portion of the weld bead needed to fill the specific welding joint. Usually, the fill pass is produced after the root passes.
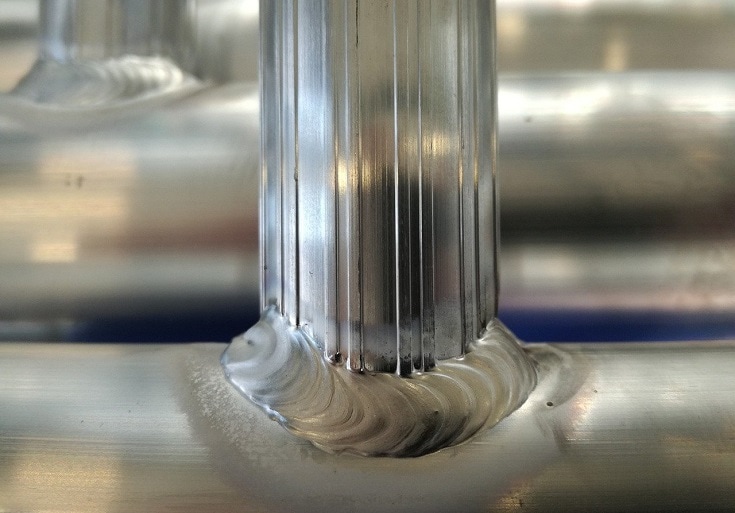
4. Cap Passes
Cap passes are used to fill the welding joint tops. Since they use the least amount of build-up past the pipe’s surface, welders perceive these passes as beneficial. In this process, welders grind build-up layers to enhance the beading and eliminate any form of contamination before making the final cap pass.
Pipe Welding Positions
1. The Flat (1G) Position
Though not frequently used by welders, the flat (1G) position is the most basic welding position. When welding in this position, welders should place the workpiece in a horizontal layout for more comfort. With this method, welding is simple and straightforward as the pipe rotates freely and away from the welder. For the best welding results, welders must maintain a fixed posture as they weld from the pipe’s top.
Follow these guidelines to successfully weld in this position:
- Begin the arcing from the tack’s center
- Place the gun and the pipe perpendicular to each other. For accurate results, use a 5 to 10-degree dragging angle
- Ensure the stick out is 5/8 of an inch or less
2. The Horizontal (2G) Welding Position
The 2G position is a groove welding position that requires the welder to place the workpiece in an upright posture. The welder stays in a fixed stature and welds from the workpiece’s horizontal side in this position.
3. The 5G Welding Position
Similar to the flat position, the 5G welding position uses a horizontally laid welding pipe. The latter’s main difference is that the workpiece is in a fixed position and gives no room for rotations. Welders can only move the workpieces in vertical movements. Welding in this position begins from the tack’s center at a drag angle of 5-10 degrees. Before making a fill pass, you grind out the beginning and endpoints for better precision and accuracy. The filling is only done when a root pass is complete.
4. The 6G Welding Position
Of all the welding positions, the 6G welding position is the most tasking since it requires you to fix the workpieces at a 45-degree angle. The method requires a high level of accuracy and swiftness as welding is performed from a fixed position.
How to Test Your Welds in Pipe Welding
Testing is performed to ascertain the welds’ strength, weakness, and general quality. Non-destructive (NDT) is the most common method used for testing. For accurate testing and results, the pipes and the welds must remain intact. Dismantling or shaking the assembly causes inaccuracy when testing.
Here is an overview of the NDT testing methods:
1. Visual Inspection of the Weld
As the name suggests, the method involves visual observation of the assembly. It is the oldest, quickest, and most economical NDT method of inspection. The method’s efficiency lies with the welder’s visual ability. In most cases, the method is used to detect physical faults that may cause the weld failure. However, the method is unfavorable for testing internal defects.
2. X-Ray Testing
X-ray testing is the most practical NDT method to use when testing internal faults and defects in the assembly. It is the most suitable method for testing high-quality and sensitive welds. Besides being effective, it is the most expensive and demands high-level expertise when testing.
3. Fillet Break Test
The fillet break test is most effective for testing root penetration and examining possible defective sections on the assembly. Most welders perform the test at the beginning and the end of a welding process. If a weld bends without breaking into pieces, it means that the welds are strong and pass the test. The only exemptions to this test are fractures and cracks not exceeding 10 mm.
4. The Liquid Dye Penetration Test
The liquid dye penetration test involves spraying a liquid dye on the weld’s surface. Usually, the excess dye is wiped off before setting the assembly to dry in a cool, dry, and dust-free place. After drying off completely, the defective parts will become visible. Compared to the visual inspection, the liquid dye penetration trust method stands out as the most effective.
5. Macro Etch Testing
The macro etch testing method involves cutting out a sample of a welding joint and testing it. The test is performed by applying an acidic solution onto the sample and observing the reaction. The reaction will cause clear visibility of the macro-structural defects. Some of the common defects tested with this method are mold slag, grain size hydrogen flakes, porosity, and mold slag.
6. The Bend Test
The bend test involves bending the specimen at a 180-degree angle to determine its rigidity to breakage. Tension force is usually applied to the joint’s facades and foundation to test its strength and quality.
Common Mistakes in Pipe Welding
Regardless of how experienced and careful a welder may be, mistakes are inevitable in pipe welding. Both beginners and experienced welding professionals are susceptible to making welding errors. Here are common mistakes and suitable ways to minimize them.
1. Aligning the Parts Wrongly
Fitting up the welds is a standard procedure in welding. The greatest mistake most welders make is rushing to the welding process and skipping or misaligning the parts. This oversight results in steep bevels. To avoid this, make sure that you fit out the parts before fusing.
2. Porosity
When gases such as oxygen, hydrogen, and nitrogen are allowed into the welding pool, porosity is likely to occur. Porosity may occur as a result of temporary disruption of the flow of the shielding gas. Should this happen, you will have to use more shielding gas. The effect leads to increased welding time and altered overall weld quality. To avoid porosity, clean, sanitize, and grind the workpieces before welding.
3. Undercutting
Undercutting is one of the major causes of poor-quality welds. It is caused by high voltages, long arcs, wrong angling, and using unsteady workspaces. Checking these factors eliminates any chance for undercutting, and this enhances the production of high-quality welds.
4. Cracks
The development of cracks on your welds alters the quality of the overall product. Cracks usually occur due to contamination, porosity, rapid cooling, and pressure imbalance. Repairing them can be a daunting task as it requires you to repeat the entire welding process.
To avoid cracks by:
- Cleanse the plate edges to create a natural fit
- Weld under the right temperature
- Grind the material’s surfaces properly before welding
1. Inclusion of Slag
Welding slags are the byproduct of welding procedures usually caused by flux coating. While slags are instrumental in preventing oxidation when fusing joints, welders must eliminate them to make way for other passes. To reduce slag formation, improve the welding speed, angle and check the welding current.

2. Poor Preparation
Prior preparations are a prerequisite to a successful pipe welding experience:
- Fit-up of the parts for correct alignment
- Clean and sanitize the workpieces
- Gear up in the right welding attire
- Assemble all the welding equipment and machines in a centralized location
- Check the amount of shielding gas
Summary: How To Pipe Weld
Pipe welding is a technique that demands perfection and expertise. The process ranges from simple procedures such as ventilating the workspaces to complex ones like setting up the machines. Inadequate prepping time leads to wastage of vital welding resources.